How To Post

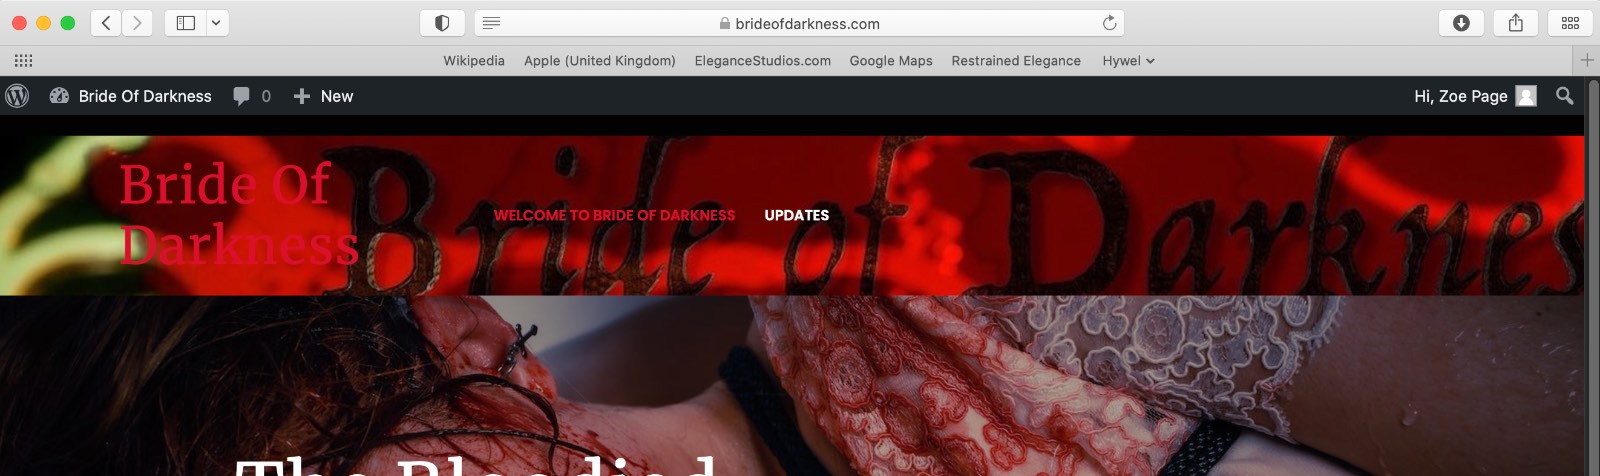
LOG IN
The login link is down at the bottom right of the welcome page.
I will have sent you your login details. Email me if you want to be added on here as a creator!
Now that you are logged in, the WordPress menu will appear at the top of the screen:
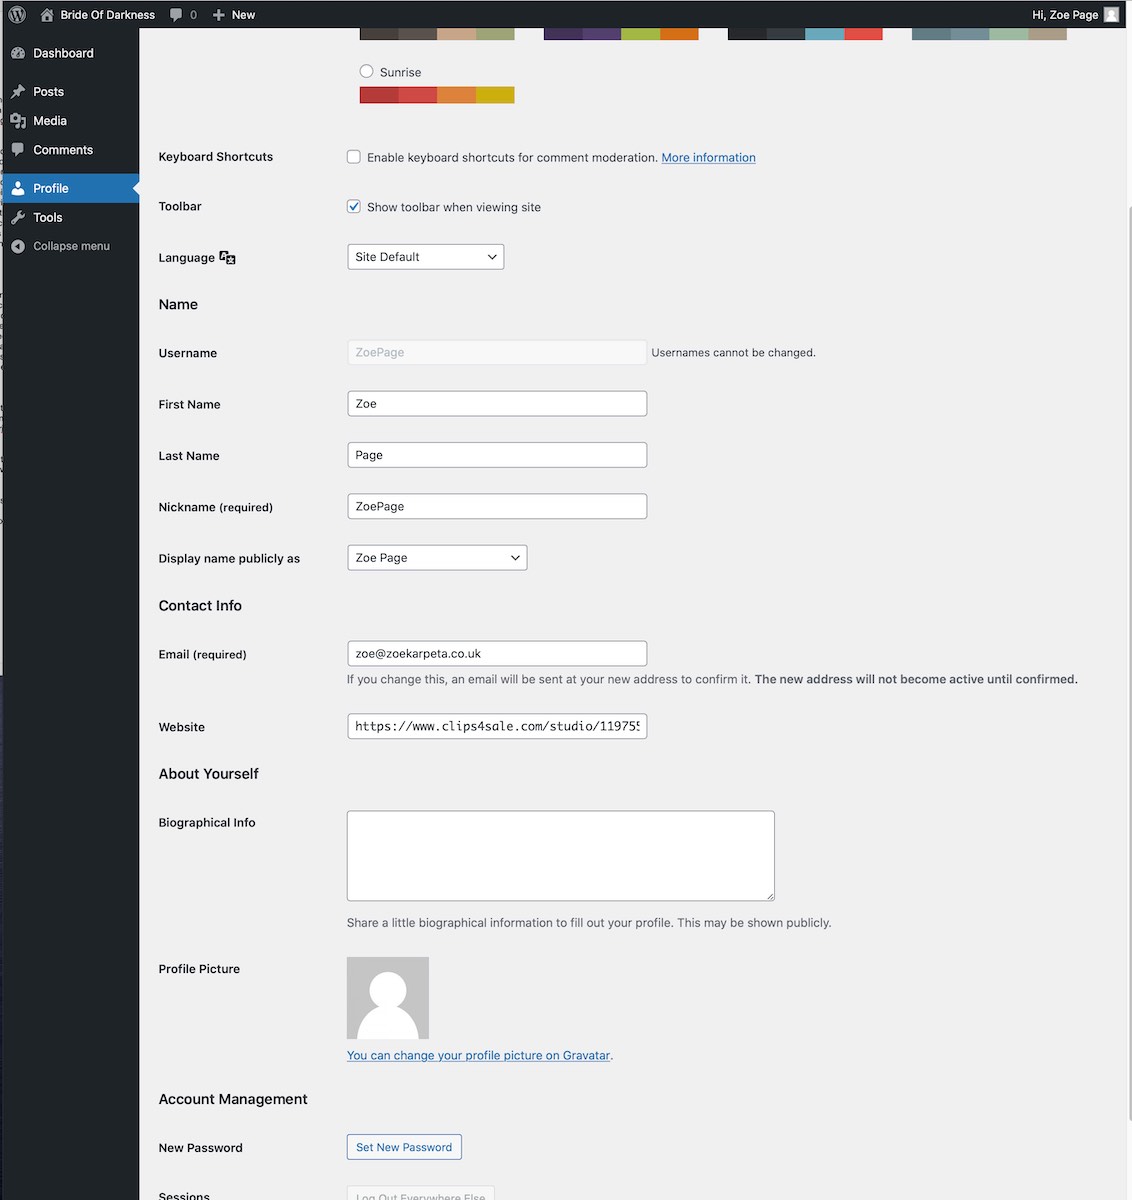
Clicking on the dashboard will get you the WordPress dashboard, naturally enough. You can change stuff in your profile here like adding an avatar for yourself, linking to your website/OF, changing password etc.
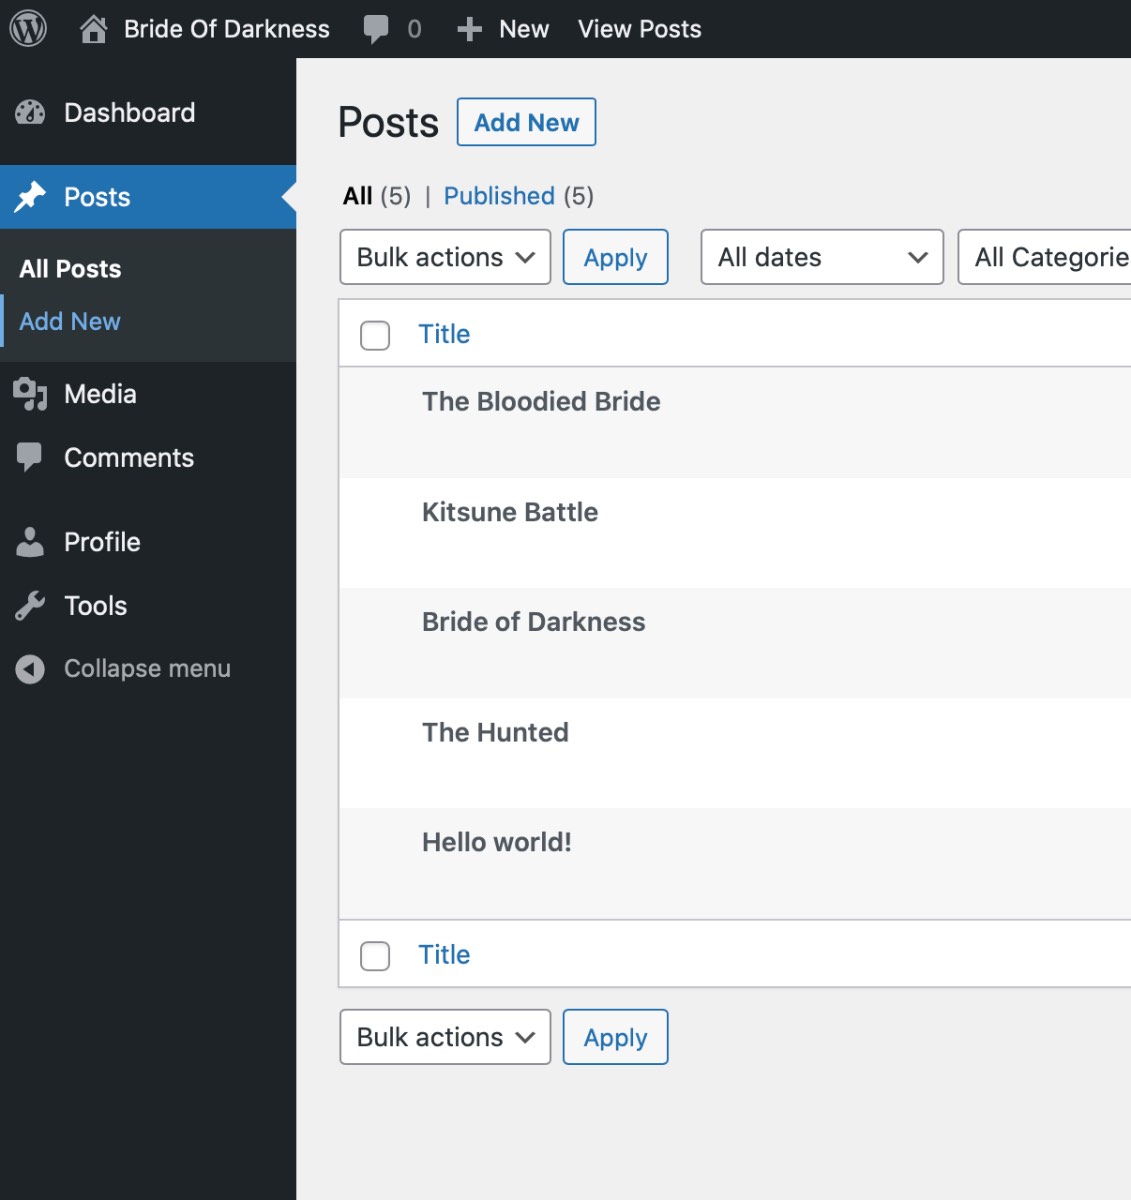
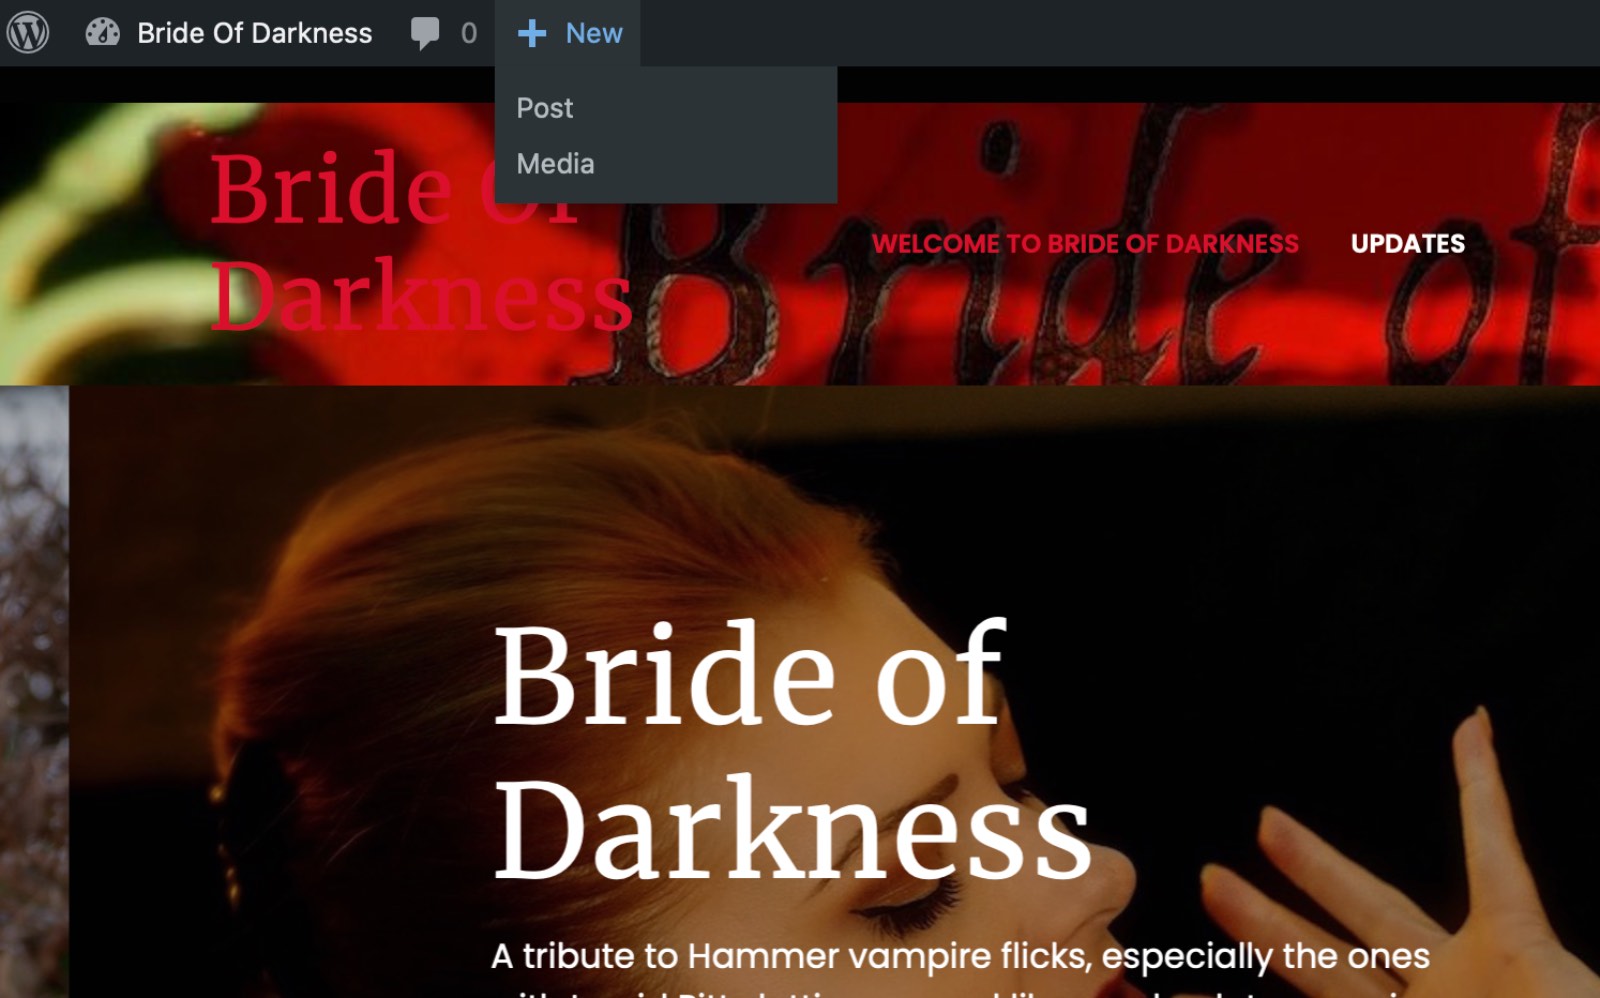
MAKE A NEW POST
You can do that either from the dashboard:
Or more quickly via the shortcut on the menu bar while you’re viewing the site:
EDIT THE POST
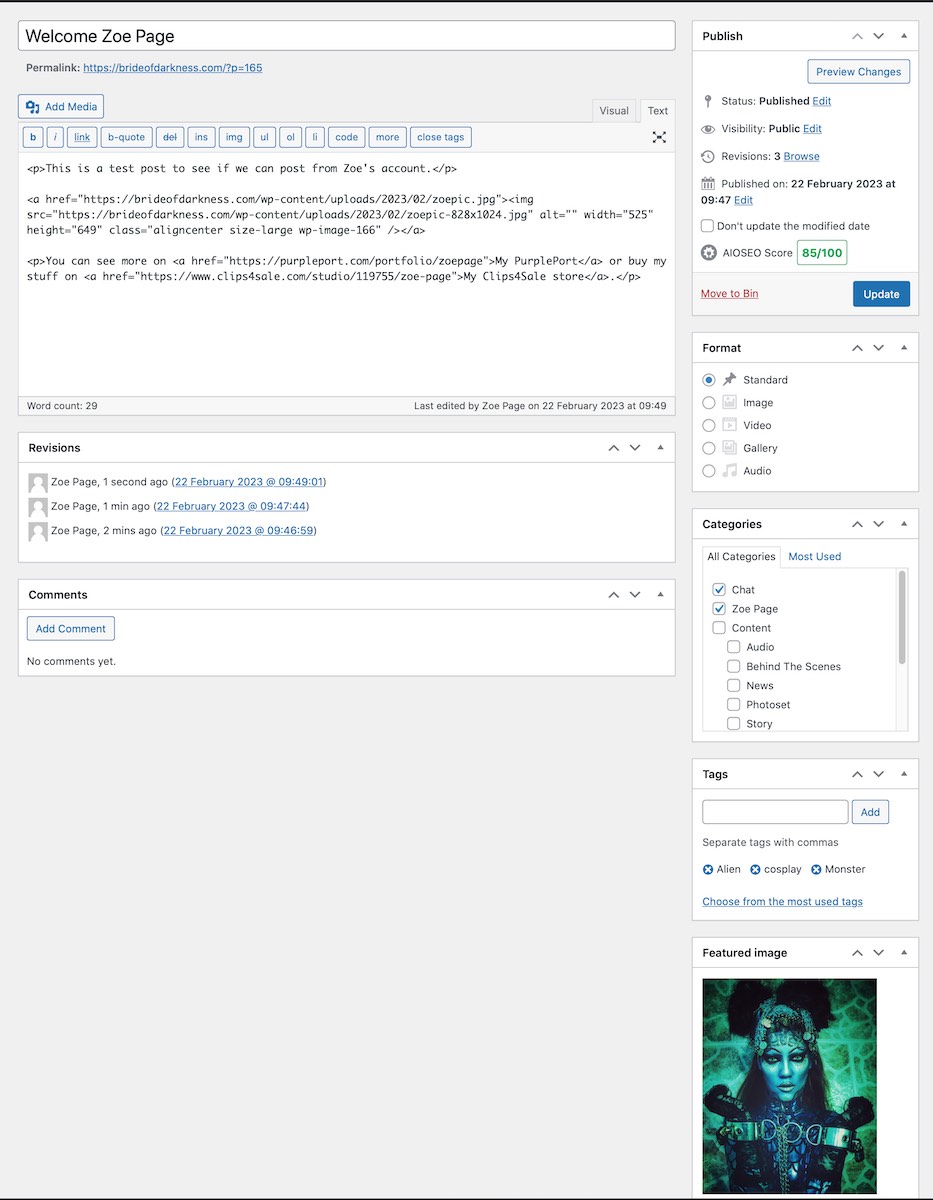
Up pops the post editor – this is the Classic WordPress version, it’s more stripped back and quicker for our purposes than the new one.
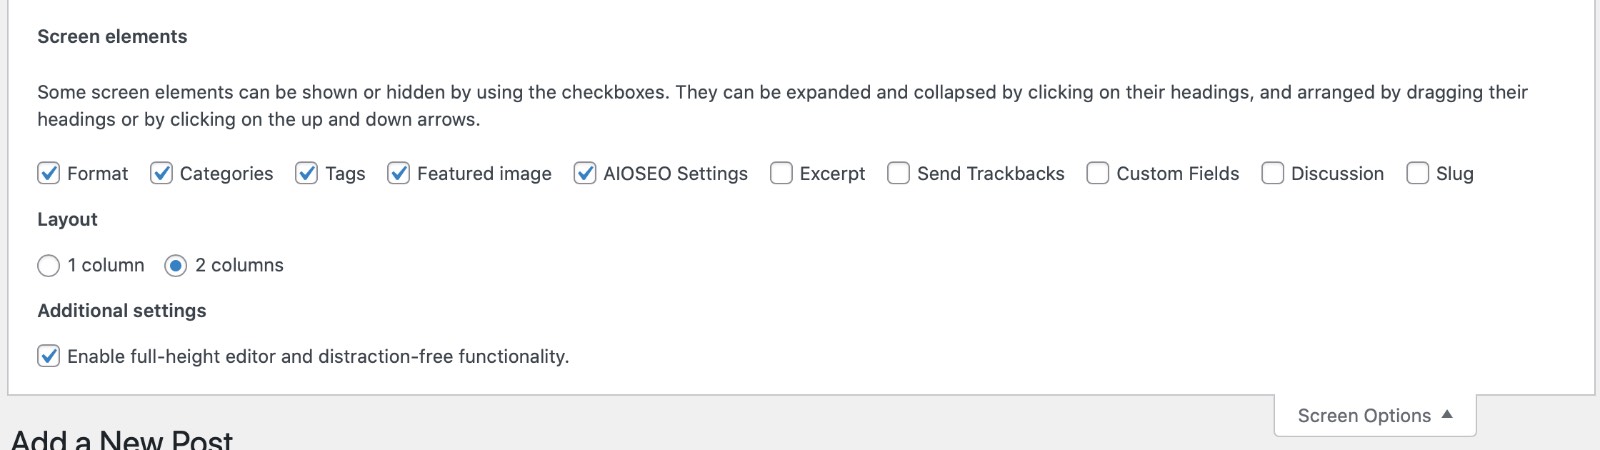
“Screen Options” turn ON Excerpt – this is the short version of the post and it is usually better to write by hand than using WordPress’ auto generated one. There’s a bit of screen clutter from theme plugins I haven’t managed to tame yet, ignore that.
Now type your post. You can use the visual editor or just type in the HTML code directly which is what I do because nerd.
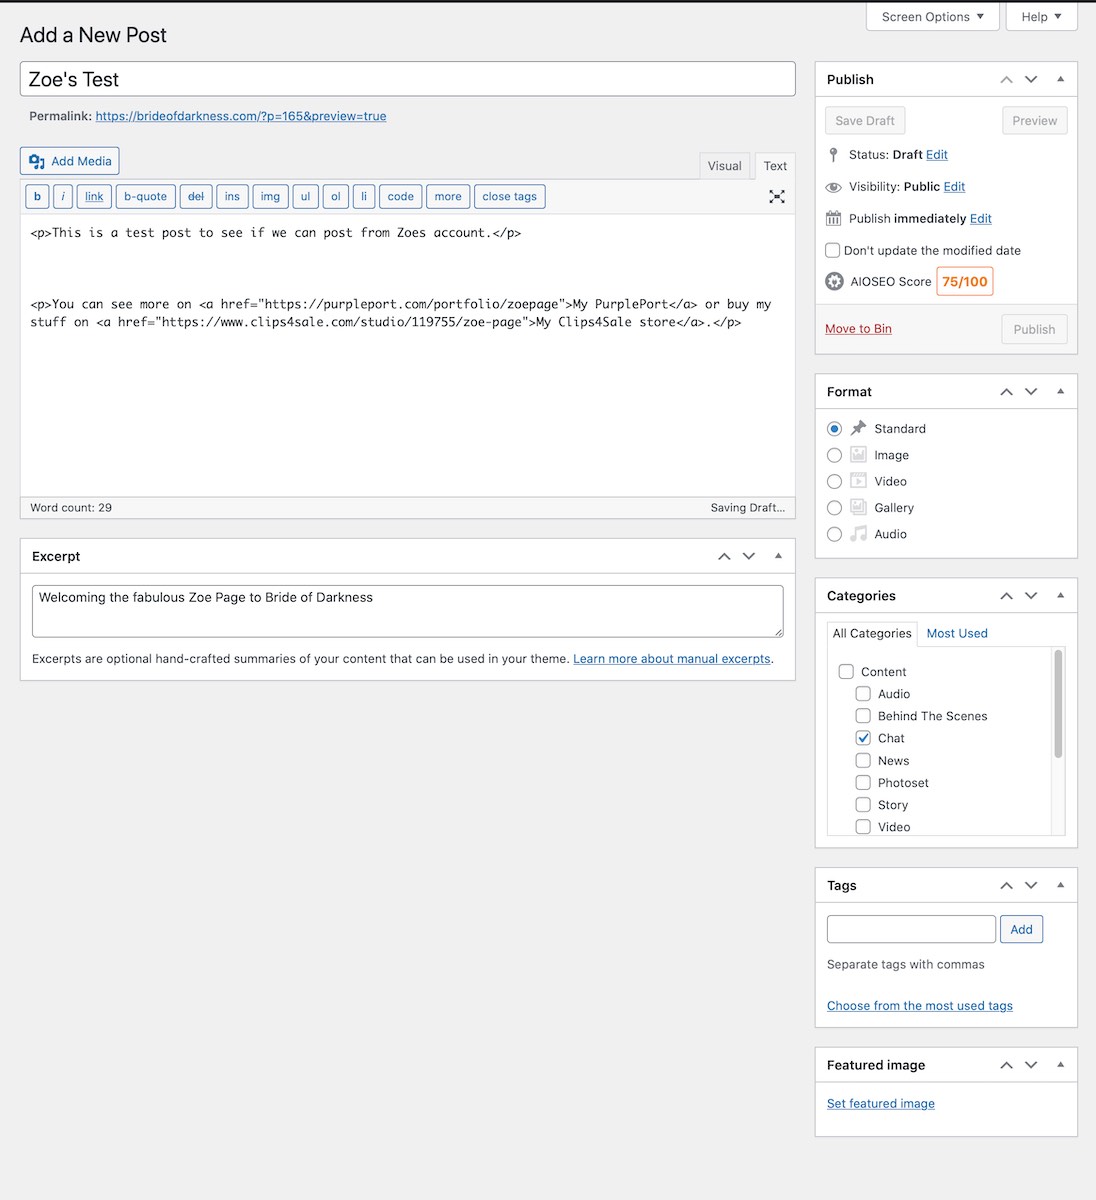
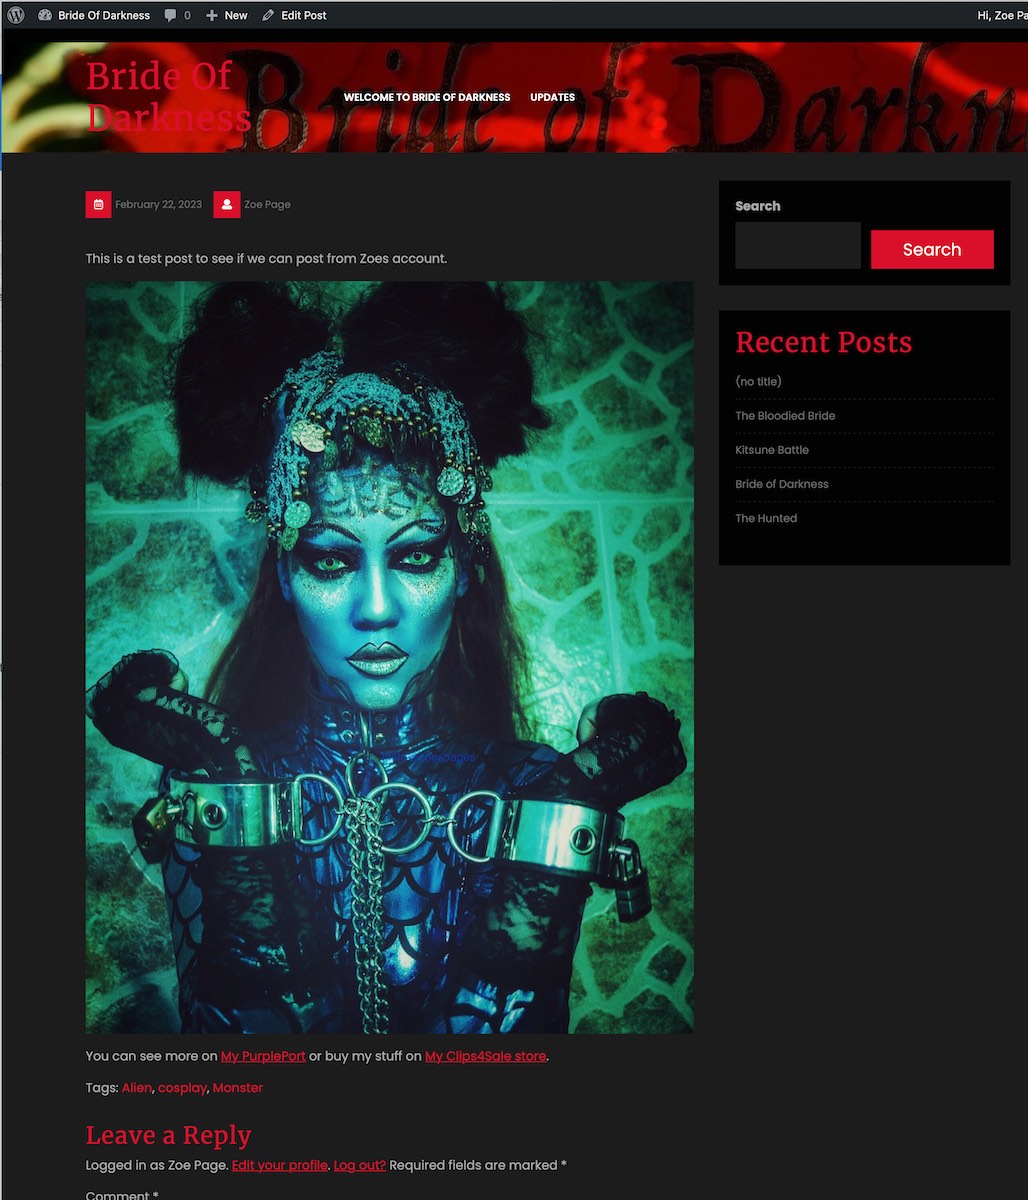
Link your post to whatever payment or tip mechanism you want offsite as usual – for this test post I made as Zoe I just put in links to her PurplePort and Clips4Sale pages.
CATEGORY AND TAGS
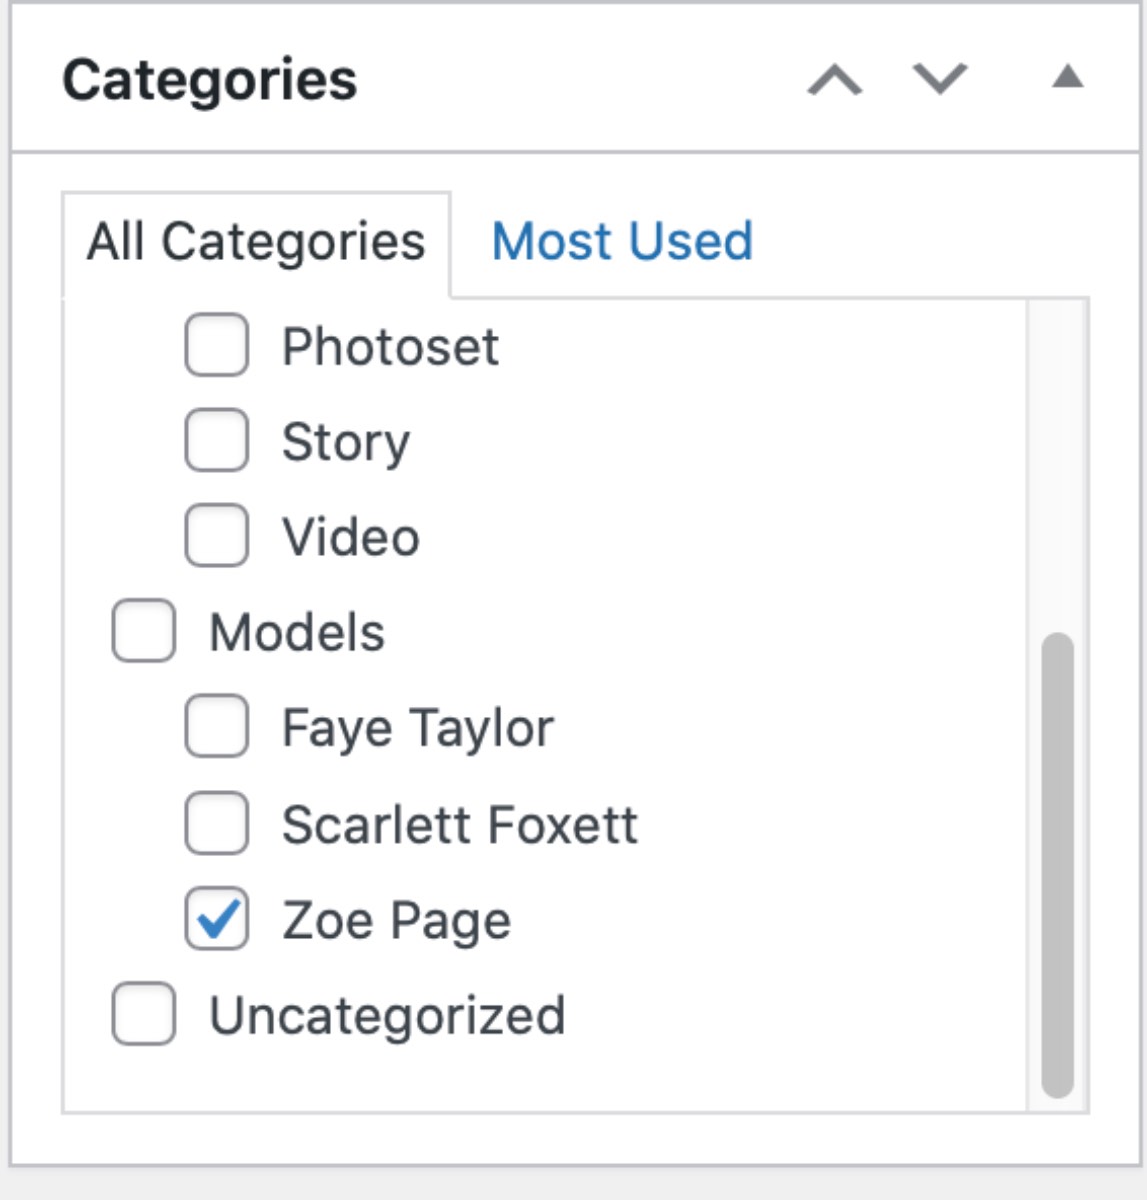
Categories are for predefined side wide organisation. I’ve set up “Content” to say whether this post is for photoset, video, BTS, chat, or whatever. Select as many as you like. I’ve also set up “Models” (probably should be “Creators”, I’ll probably have changed that by the time you read this). Tick the appropriate one for yourself.
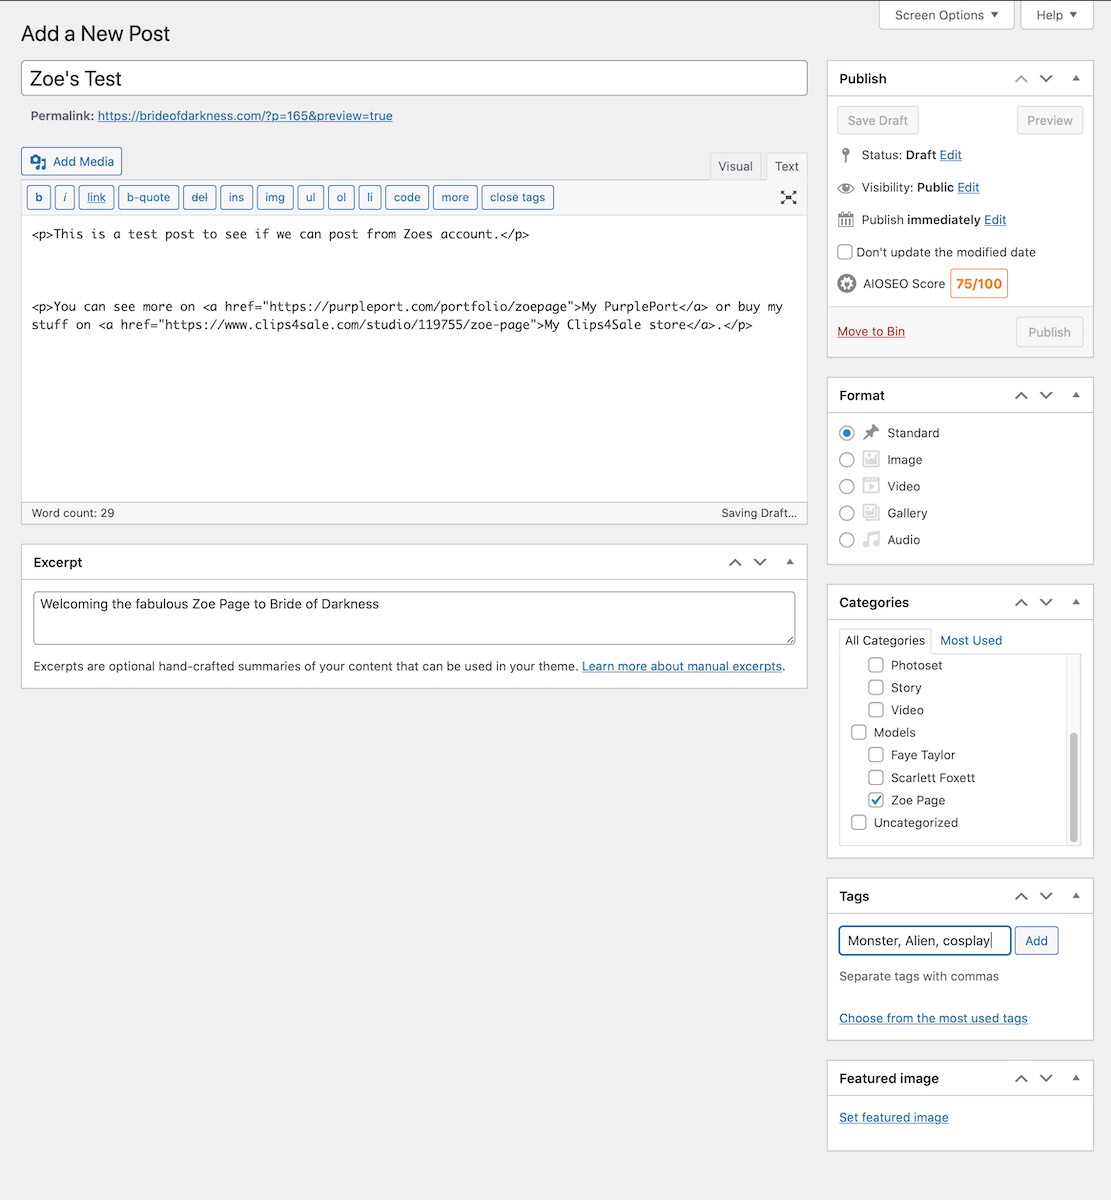
Tags are free-form text tags, can be anything, I just added a few like this:
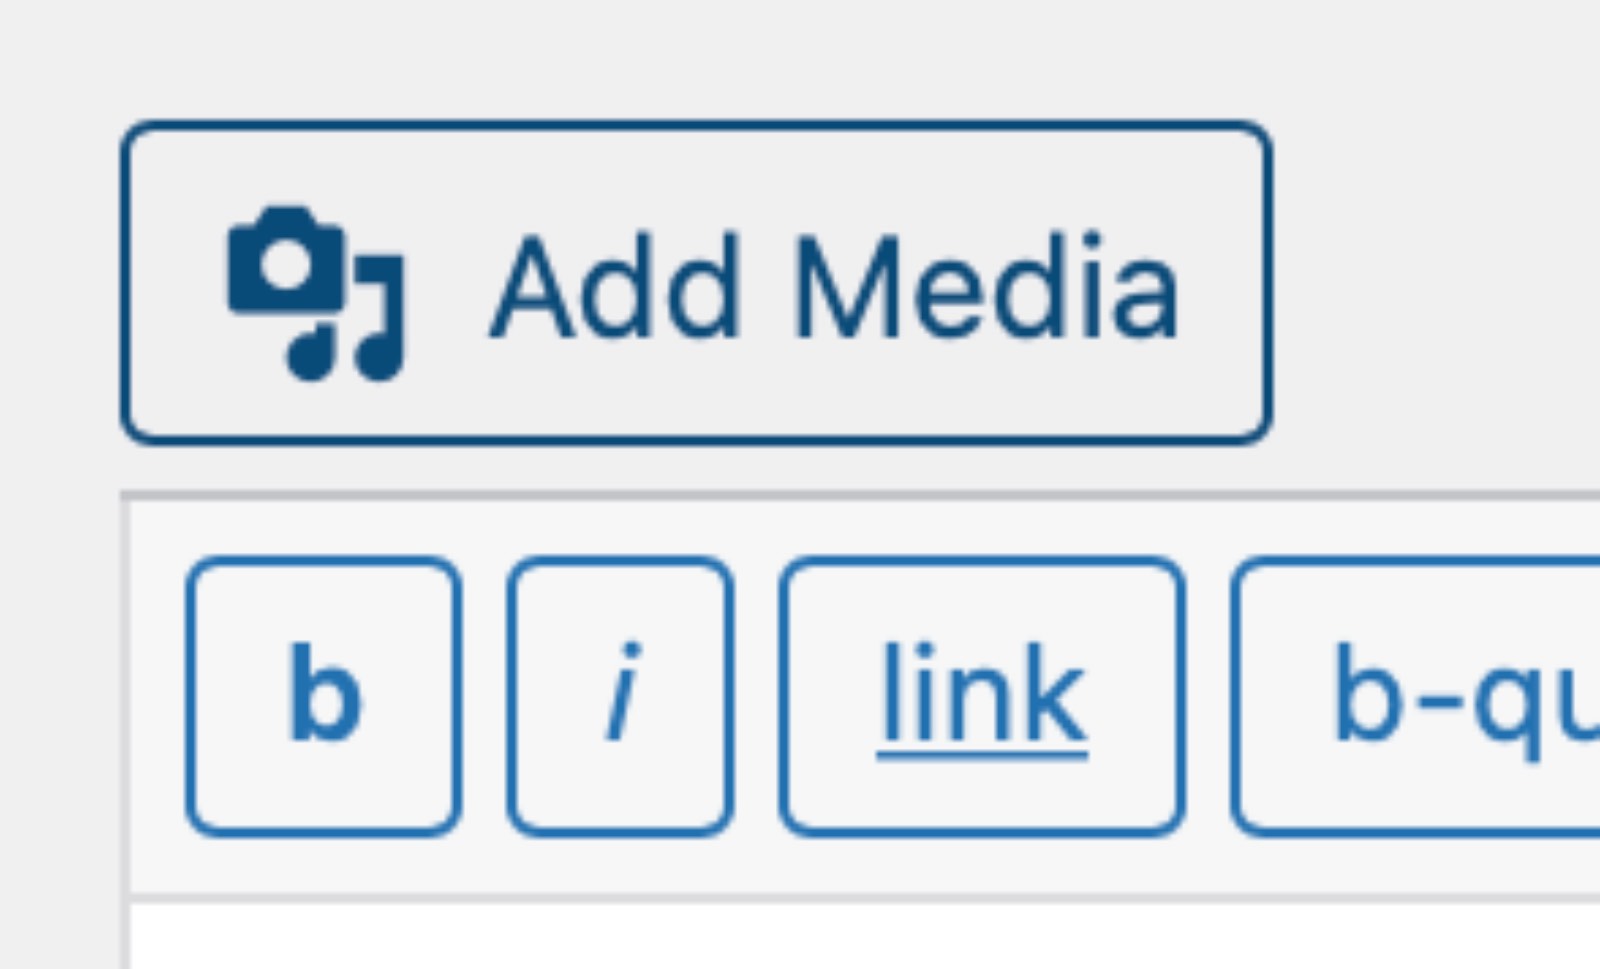
ADD PICS AND VIDEO TRAILERS
Position your cursor where you want to add your pics or video in the post (eg after the text). Click “Add Media”.
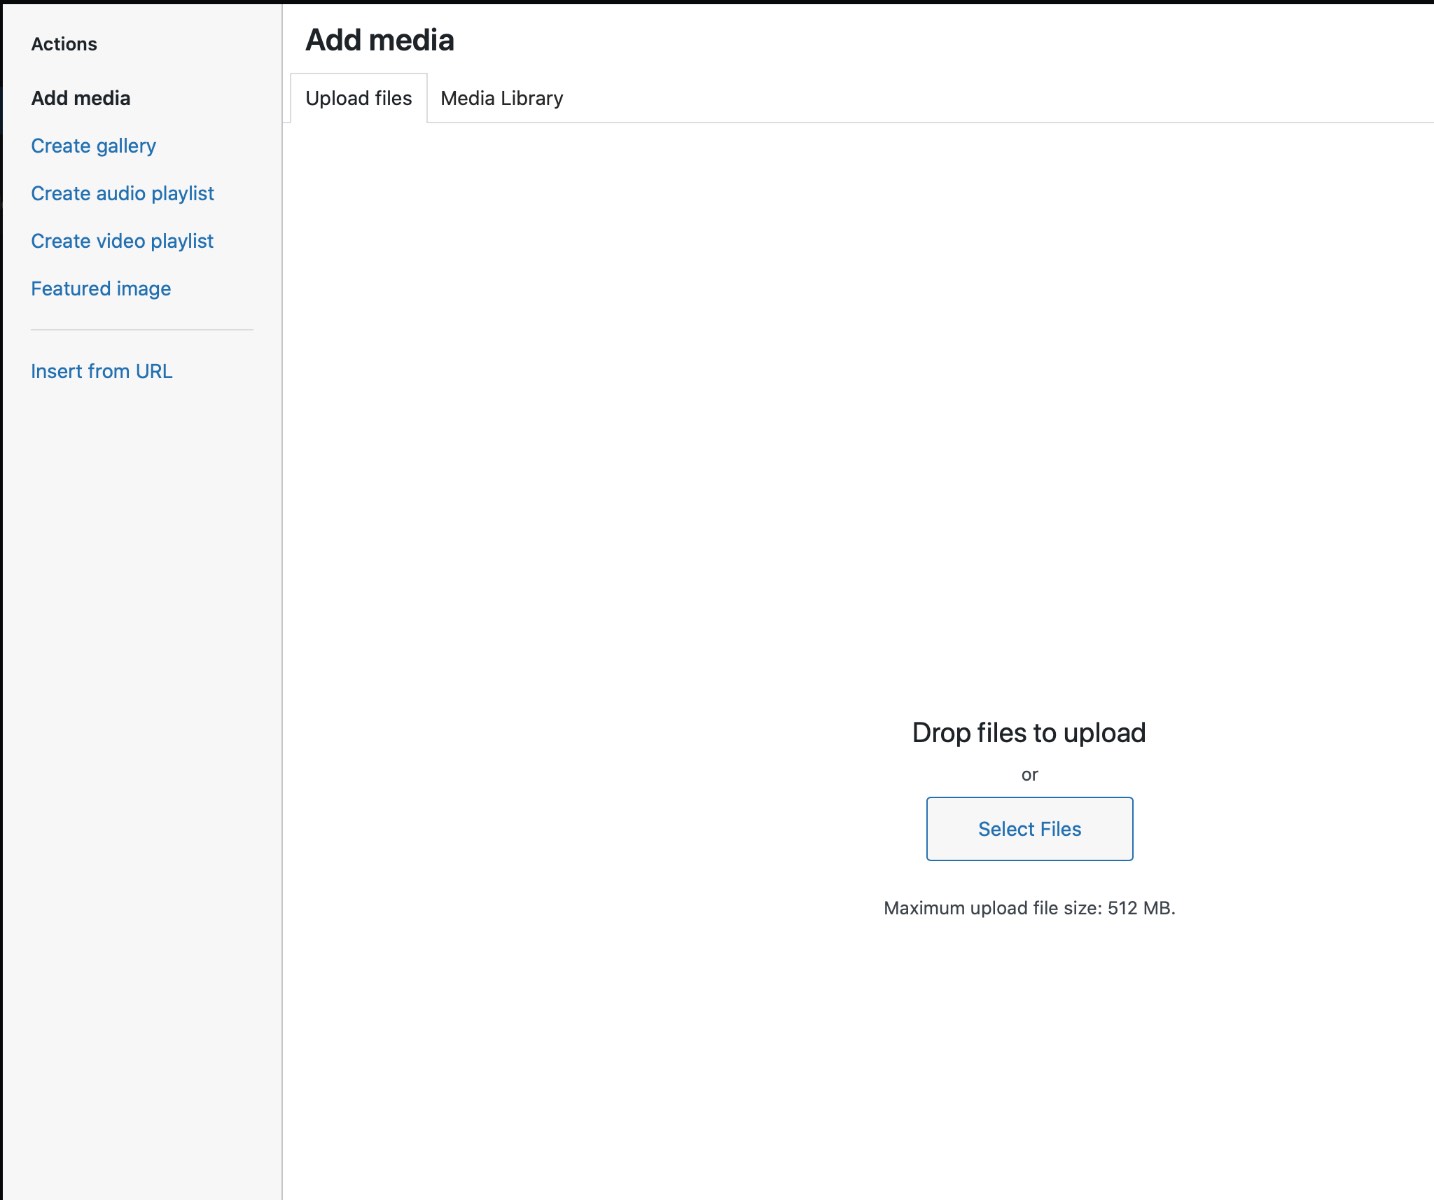
The Add Media window pops up, go to the “Upload files” tab. Drag and Drop onto there. There are some file size limits, so no full videos, but trailers should be fine.
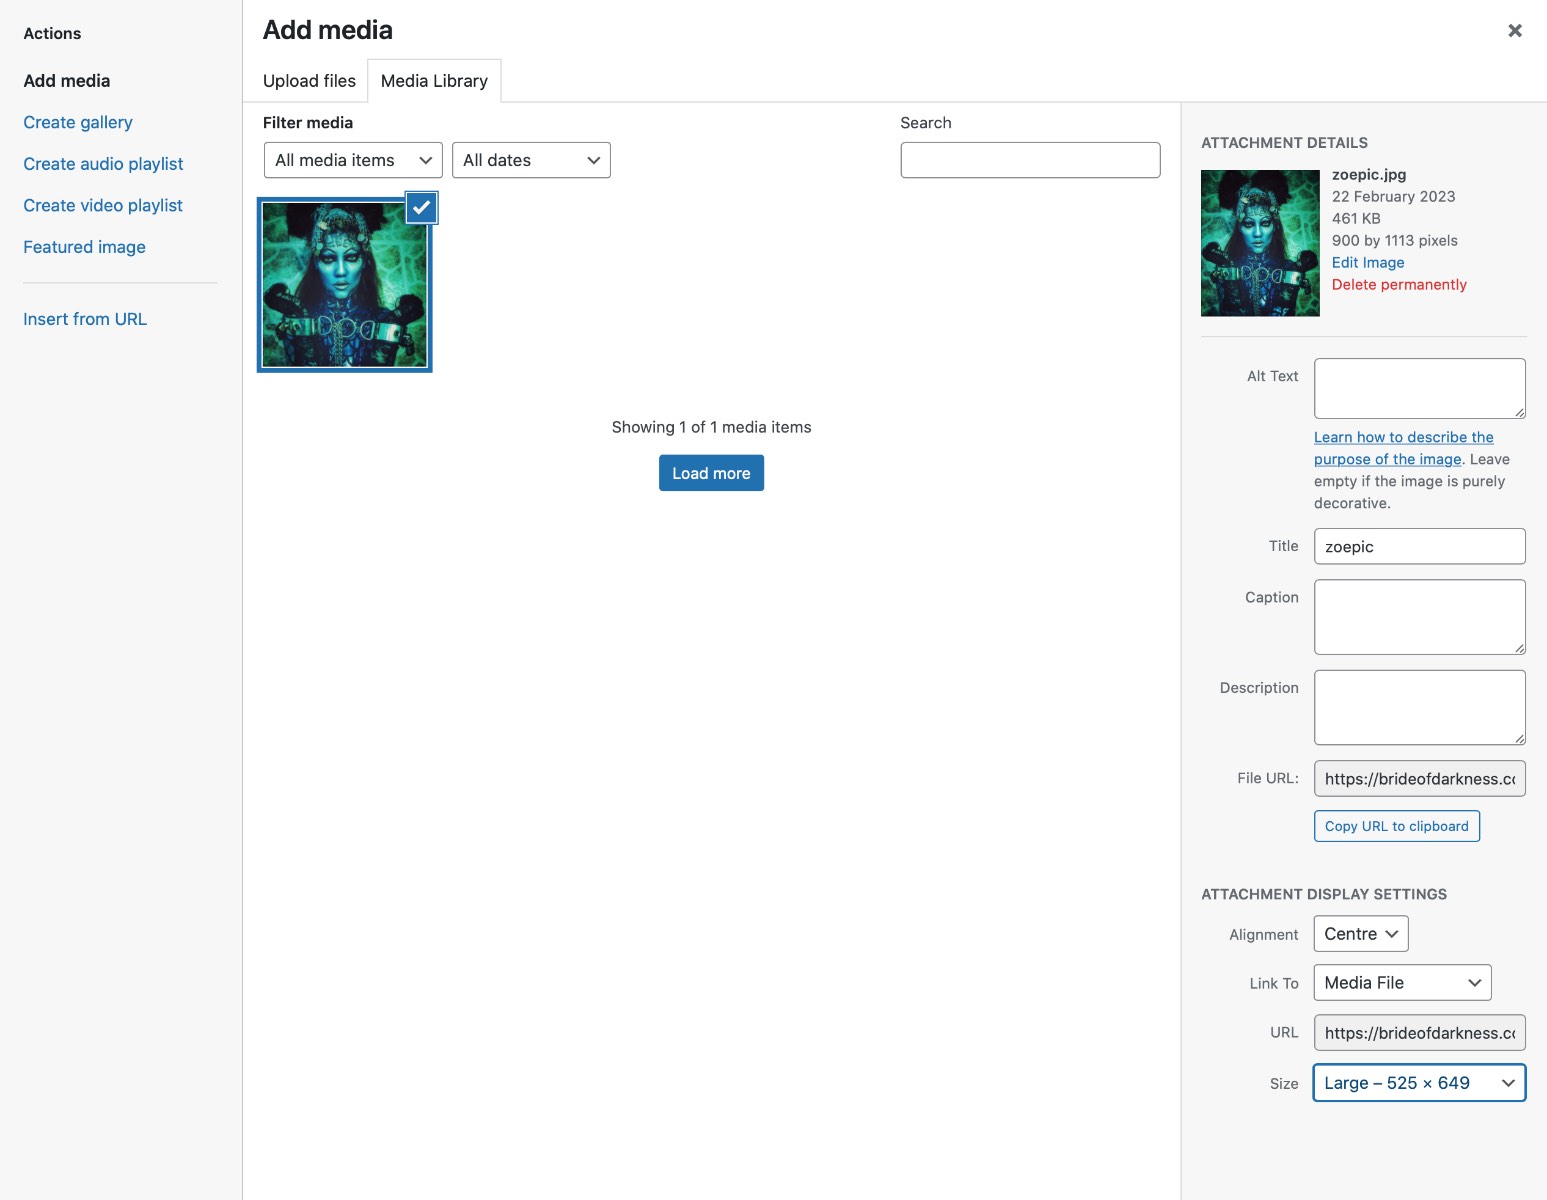
When it has done the upload, it pops back to the Media Library tab and shows you what it intends to do with the pics. You can select them and add titles or descriptions if you want but you don’t need to. Choose the attachment display settings you like; personally I like to have Alignment: centre, Link to: Media file, Size: Large. That seems to look nice with the default site layout and lets viewers click to get the full-size version of the pics like you’ve probably been doing with this article.
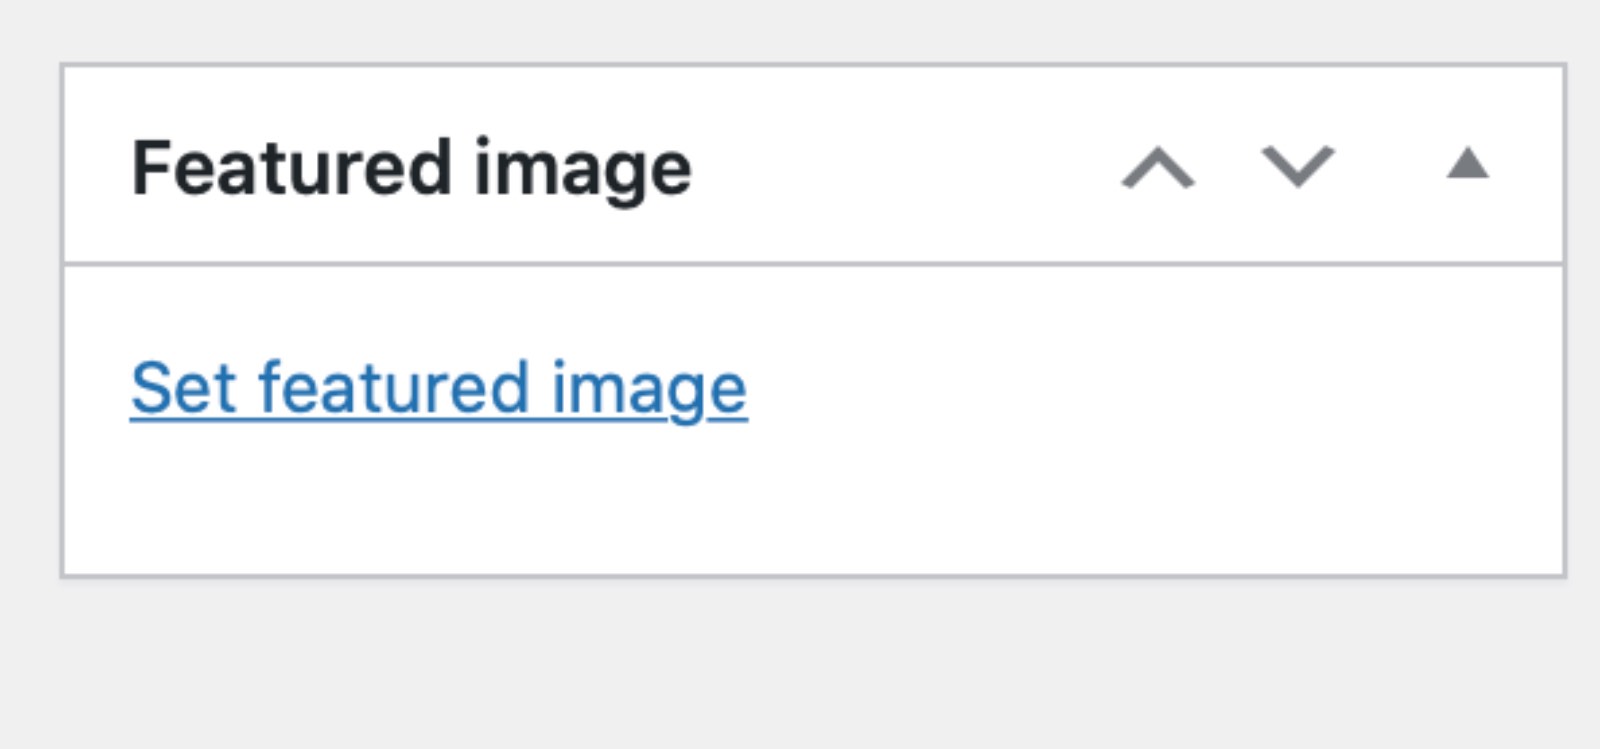
SET A FEATURED IMAGE
Click and select an image to represent the post. Optional but worth doing as it makes it show up much more prettily on the general site pages.
PUBLISH!
Hit publish when you are ready, then go and view the post.
FUCK I SCREWED UP – EDIT
Noticed a typo? Screwed up? Edit button.

DONE
Hit Update, you’re done. You can edit at any time.
Email me if you need any help!